How-to
How to set up and use a Brother embroidery machine
Published
Short answer
Attach the embroidery unit with the machine off, put on the embroidery foot and a 75/11 embroidery needle, then wind and insert a bobbin of embroidery bobbin thread. Thread the top with the presser foot up so the thread seats in the tension discs. Hoop fabric with the right stabilizer, attach the hoop, pick or load a design, check its position on screen, lower the foot and press start.
Machines for this job
All 8 picks compared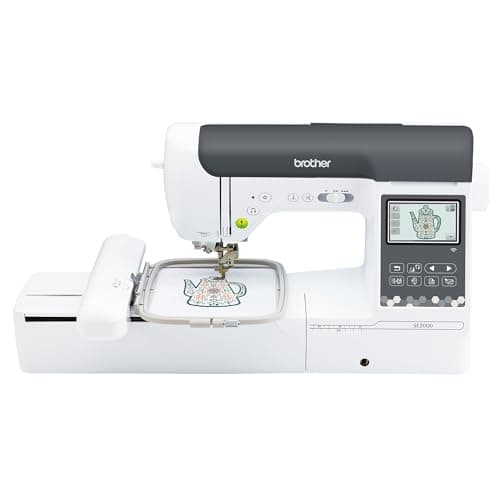
Brother SE2000 sew and embroider, 5 x 7 inch field
See price on AmazonSee it on Amazon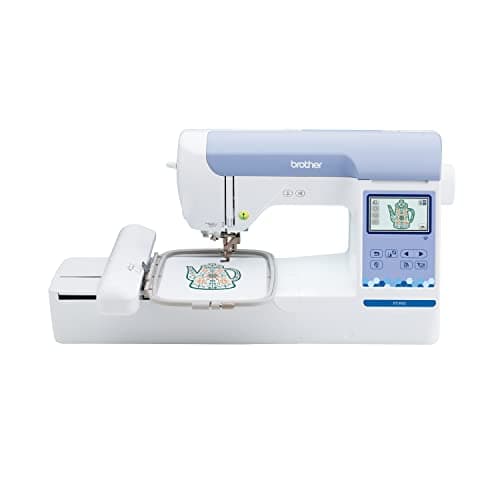
Brother PE900 embroidery-only, 5 x 7 inch field
See price on AmazonSee it on Amazon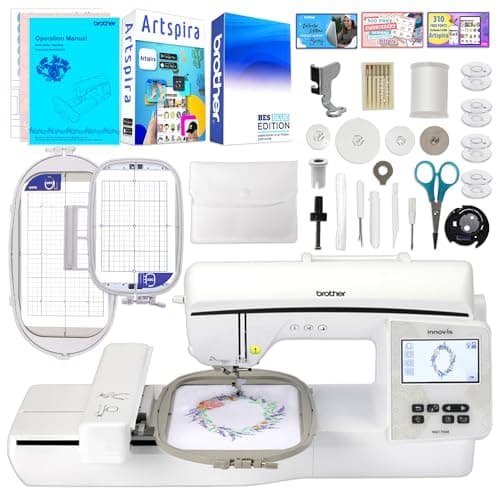
Brother Innov-is NQ1700E, 6 x 10 inch field
See price on AmazonSee it on Amazon
This page is for new owners of a Brother embroidery or sewing and embroidery combo machine, such as the PE545, SE700, PE800, PE900, SE1900 or SE2000. It walks through a first stitch-out in order: setting up the embroidery unit, choosing needle and thread, winding and inserting the bobbin, threading, hooping with stabilizer, loading a design and running it. Button names and screens differ by model, so keep your manual open next to these steps. If you have not bought a machine yet, see the best Brother embroidery machines.
Before you start: what you need
Set the machine on a sturdy, flat table with clear space behind and to the left. The embroidery carriage moves the hoop in every direction, and anything in its path, like a wall, a spool or a cup, can stop it or knock the design out of alignment. The full starter list is in what you need to start machine embroidery.
- The machine, embroidery unit and the embroidery foot that came in the box
- An embroidery needle, usually 75/11 (or 90/14 for thicker thread)
- 40 wt embroidery thread in rayon or polyester
- Embroidery bobbin thread, which is finer than the top thread, or pre-wound bobbins made for your machine
- Stabilizer suited to the fabric; see the stabilizer chart
- Scrap fabric similar to your project for a test stitch-out
- Curved snips for trimming jump stitches
Set up the machine and embroidery unit
- 1
Turn the machine off. On combo machines, remove the accessory tray or flatbed attachment so the embroidery unit can slide on.
- 2
Slide the embroidery unit onto the machine until it clicks into the connector.
- 3
Raise the presser foot and remove the sewing foot and its holder if your manual says to.
- 4
Attach the embroidery foot, which is often labeled W on Brother machines, and tighten its screw with the included screwdriver.
- 5
Insert a fresh embroidery needle with the flat side to the back, pushed up as far as it will go.
- 6
Turn the machine on. When the screen asks, confirm that the carriage can move to its starting position, with no hoop attached and nothing in the way.
Note.Keep hands, scissors and loose thread away from the carriage when the machine is on. It moves without warning when it initializes and when the hoop is attached or removed.
Wind and insert the bobbin
Embroidery uses a fine bobbin thread so the bobbin holds more and the back of the design stays flat. Many sewists use pre-wound bobbins of the type the manual specifies, which saves time and gives even tension.
To wind your own, place the bobbin thread on the spool pin, follow the winding guide printed on the machine, put the bobbin on the winder shaft and push it to the right. Hold the thread end for a few turns, trim it, then press start or the bobbin button. Most Brother machines stop automatically when the bobbin is full.
- 1
Open the bobbin cover in front of the needle plate.
- 2
Drop the bobbin in so the thread unwinds in the direction shown on the cover diagram.
- 3
Guide the thread through the slot and around the guide as shown, then cut it on the built-in cutter if your model has one.
- 4
Close the cover. You do not need to pull the bobbin thread up on most drop-in Brother machines.
Thread the top thread
Threading with the presser foot down is the most common cause of thread nests under the hoop. Raising the foot opens the tension discs so the thread can drop between them.
- 1
Raise the presser foot lever and press the needle position button until the needle is at its highest point.
- 2
Place the embroidery thread spool on the spool pin with a spool cap that fits.
- 3
Follow the numbered thread path on the machine: across the top guide, down the right channel, around the bottom, up the left channel and through the take-up lever.
- 4
Pull the thread down behind the needle bar guide.
- 5
Use the automatic needle threader if your model has one, or thread the needle front to back by hand.
- 6
Pull a few inches of thread under the embroidery foot.
Hoop the fabric and stabilizer
Pick the smallest hoop that fits the design. A smaller hoop holds fabric more firmly and reduces puckering. Use the embroidery hoop size guide if you are not sure which hoop a design needs.
Loosen the outer hoop screw. Lay the outer ring on a flat table, place the stabilizer and fabric on top, then press the inner ring down into it. The fabric should be smooth and firm like a drum, but not stretched out of shape, especially on knits. Tighten the screw and check that the grain is straight.
Slide the hoop onto the carriage arm and lock it with the hoop lever. Make sure it is fully seated, since a loose hoop can shift and ruin the registration of the design.
Load the design and start stitching
Run your first design on scrap fabric. Watch the first color closely for puckering, loops on top or thread breaks. If thread shreds or breaks, see embroidery thread shredding and breaking. If the fabric puckers, see machine embroidery puckering. Error messages and other faults are covered in Brother embroidery machine problems.
- 1
Select a built-in design or open one from a USB stick or wireless transfer. Brother machines use PES files; see Brother embroidery machine file format.
- 2
Use the edit screen to size, rotate or move the design, staying within the hoop field. Large size changes are better done in software.
- 3
Use the trial or layout function, where available, to trace the design outline and check that it clears the hoop edges.
- 4
Note the color order on screen and have those threads ready.
- 5
Lower the presser foot and press the start/stop button.
- 6
After a few stitches, stop and trim the thread tail at the start so it is not stitched over.
- 7
When the machine stops for a color change, change the thread, rethread with the foot up, and press start again.
- 8
When finished, remove the hoop, trim jump stitches and remove excess stabilizer.
Frequently asked questions
How do I thread a Brother embroidery machine? Raise the presser foot, raise the needle, follow the numbered path on the machine through the take-up lever and down to the needle, then use the needle threader. Threading with the foot down is the most common mistake.
Can I use regular sewing thread in the bobbin? It can work for practice, but embroidery bobbin thread is finer, holds more on a bobbin and keeps the back of the design flatter. Check your manual for the bobbin type your model uses.
Why does my Brother embroidery machine say the design is too large? The design is bigger than the field of the hoop or the machine's maximum field. Pick a smaller design, a larger hoop if your machine supports one, or resize carefully in software.
Do I need to update my Brother machine? Updates can fix bugs and add features on some models. See how to update a Brother embroidery machine.
What you need for this
- See price on AmazonAmazon
Brother SE2000, 5 x 7 in field with Wi-Fi
From Best Brother embroidery machines: PE, SE, Innov-is and PR compared
- See price on AmazonAmazon
Brother PE900: 5x7 field, wireless, 193 designs