Fix
Why your embroidery machine is bird nesting
Published
Short answer
A bird nest, a wad of thread under the fabric, usually means the upper thread has slipped out of the take-up lever or the tension discs, so the machine cannot pull each loop tight. Remove the hoop carefully, clear the nest, then rethread the top with the presser foot up. If it returns, check the bobbin and bobbin thread, the needle, and whether the fabric is hooped drum tight.
Machines for this job
All 8 picks compared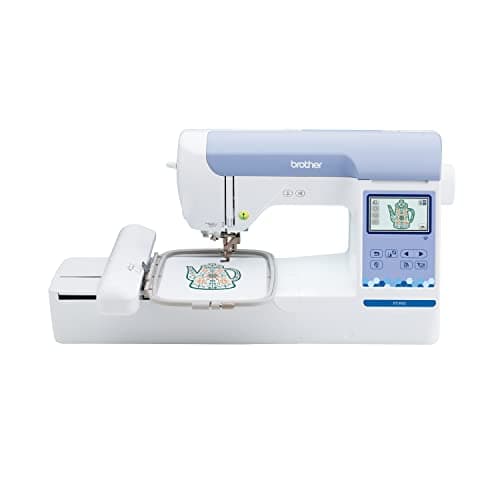
Brother PE900: 5x7 field, wireless, 193 designs
See price on AmazonSee it on Amazon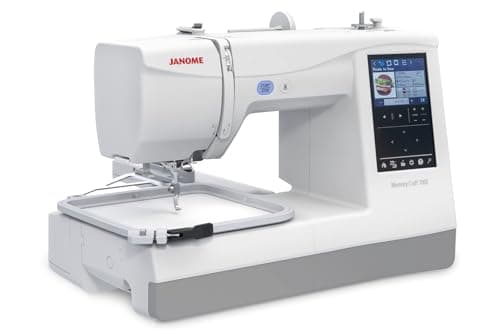
Janome Memory Craft 100e: 5.5x5.5, 274 designs
See price on AmazonSee it on Amazon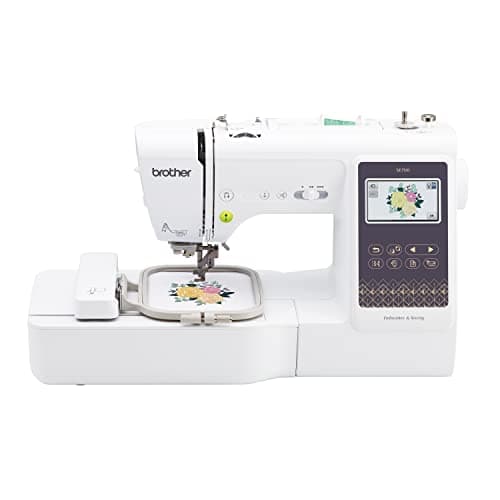
Brother SE700: 4x4 embroidery plus 103 sewing stitches
See price on AmazonSee it on Amazon
Bird nesting is one of the most common embroidery machine problems. The design starts, then the machine stops or grinds and you find a tangle of thread under the hoop. This page is for home embroiderers with single-needle machines such as Brother PE and SE models, Janome Memory Craft and Singer SE machines. It explains why nests form, how to clear one without damaging the machine, and the checks to make in order, from the two-minute threading fix to hooping, bobbin and needle causes.
What causes bird nesting
Like a sewing machine, an embroidery machine forms a lockstitch. The hook catches the upper thread, wraps it around the bobbin thread, and the take-up lever pulls the loop back up. If the upper thread is not in the take-up lever or the tension discs, the loop is not pulled up and the slack collects under the fabric, quickly forming a nest. The diagram shows how the threads should lock.
Because embroidery stitches fast and densely in a small area, a small threading slip turns into a large nest in seconds. Flagging, where loosely hooped fabric bounces up and down with the needle, can also stop stitches from forming properly.
Upper thread out of take-up lever
- Sign
- Nest appears suddenly mid-design
- Fix
- Rethread the top fully
Threaded with presser foot down
- Sign
- Nest from the first stitches
- Fix
- Raise foot, rethread
Thread tail not trimmed or held
- Sign
- Nest at the start only
- Fix
- Trim tails, follow start procedure
Fabric loosely hooped
- Sign
- Fabric bounces, nests and puckers
- Fix
- Rehoop drum tight with stabilizer
Bobbin wrong way or wrong type
- Sign
- Bobbin thread shows or loops
- Fix
- Reinsert, use correct bobbin and thread
Bent or dull needle
- Sign
- Skipped stitches before nesting
- Fix
- Replace with a 75/11 embroidery needle
Lint or burr in bobbin area
- Sign
- Nests continue after rethreading
- Fix
- Clean, check for burrs
| Cause | Sign | Fix |
|---|---|---|
| Upper thread out of take-up lever | Nest appears suddenly mid-design | Rethread the top fully |
| Threaded with presser foot down | Nest from the first stitches | Raise foot, rethread |
| Thread tail not trimmed or held | Nest at the start only | Trim tails, follow start procedure |
| Fabric loosely hooped | Fabric bounces, nests and puckers | Rehoop drum tight with stabilizer |
| Bobbin wrong way or wrong type | Bobbin thread shows or loops | Reinsert, use correct bobbin and thread |
| Bent or dull needle | Skipped stitches before nesting | Replace with a 75/11 embroidery needle |
| Lint or burr in bobbin area | Nests continue after rethreading | Clean, check for burrs |
How to clear a nest safely
- 1
Stop the machine and turn it off.
- 2
Do not pull the hoop away; it is tied to the machine by the nest.
- 3
Raise the presser foot and cut the upper thread above the needle.
- 4
Slide small scissors under the hoop and carefully snip the threads of the nest until the hoop lifts free.
- 5
Remove the hoop, then remove the needle plate if your manual shows how, and clear every scrap of thread from the bobbin area.
- 6
Check the bobbin case for nicks and reseat it.
- 7
Replace the needle if it was bent or struck anything.
Note.Never yank the hoop or force the handwheel when the machine is jammed. It can bend the needle bar, knock the timing out or damage the embroidery arm.
Rethread the upper thread correctly
This fixes most nests. Raise the presser foot so the tension discs open, raise the needle to its highest point, and rethread from the spool through every guide, the tension discs and the take-up lever. On many Brother machines the thread path is numbered on the machine. Use the automatic threader or thread the needle by hand from front to back.
Check the spool too. Some threads need a spool cap that fits the spool, and cross-wound or cone threads may feed better from a thread stand. A thread that catches on the spool notch can be pulled out of the take-up lever mid-design. If the thread is also fraying or snapping, see embroidery thread shredding and breaking.
Hooping and stabilizer
Fabric must be hooped smooth and taut, like a drum, with the right stabilizer. If the fabric is loose it lifts with the needle, stitches do not form cleanly and loops build up underneath. Hoop the fabric and stabilizer together, tighten the hoop screw, and tap the fabric to check it is firm without stretching the grain.
Use enough stabilizer for the fabric and design. Knits generally need cutaway; stable wovens can use tear-away. See the stabilizer chart. Choose the smallest hoop that fits the design, since a large hoop for a small design leaves more fabric free to bounce. The hoop size tool helps you pick the right one.
Bobbin, needle and thread checks
- Bobbin: use the bobbin class your manual lists and insert it in the direction shown on the machine. Make sure the thread passes through the tension slot of the bobbin case.
- Bobbin thread: use fine embroidery bobbin thread, not regular sewing thread. See machine embroidery thread weights.
- Needle: fit a fresh 75/11 embroidery needle, or 90/14 for thick fabric. A bent or burred needle can miss the loop. See the machine embroidery needle guide.
- Tension: return upper tension to the default for embroidery before changing anything else. See embroidery machine tension settings.
- Lint: brush out the bobbin area after every few designs, more often with cotton thread.
When nesting will not stop
If nests continue after correct threading, new needle, correct bobbin and good hooping, check for a burr on the needle plate or bobbin case. A burr can snag the thread on every stitch. Run a fingertip or a strand of nylon stocking around the needle hole and the bobbin case; if it catches, the part may need polishing or replacing.
Persistent nesting after a hard needle strike can mean the timing is off. That needs a qualified technician or an authorized dealer. Brother owners can find other model-specific faults in Brother embroidery machine problems.
Frequently asked questions
Why does my embroidery machine bird nest at the start? The usual causes are threading with the presser foot down and a long or loose upper thread tail. Rethread with the foot up and trim the tail before starting.
Is bird nesting a bobbin problem? It can be, but the upper thread is the more common cause. Rethread the top first, then check the bobbin direction and type.
Can bird nesting damage my machine? A nest itself is usually harmless if you cut it free. Pulling the hoop or forcing the machine can cause damage, so always cut the threads.
Does stabilizer affect bird nesting? Yes. Too little stabilizer or loose hooping lets the fabric flag, which interferes with stitch formation.
What you need for this
- See price on AmazonAmazon
Brother PE900: 5x7 field, wireless, 193 designs
 See price on AmazonAmazon
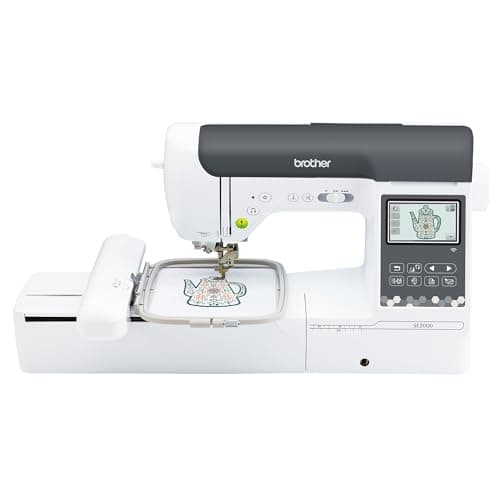
Brother SE2000, 5 x 7 in field with Wi-Fi
From Best Brother embroidery machines: PE, SE, Innov-is and PR compared