How-to
How to check and set embroidery machine tension
Published
Short answer
Stitch a satin column or a capital I and look at the back. Balanced embroidery tension shows a center stripe of bobbin thread about one third of the column width, with top thread on each side. Too much bobbin showing means the top tension is too tight; no bobbin showing means it is too loose. Adjust top tension in small steps and retest.
Machines for this job
All 8 picks compared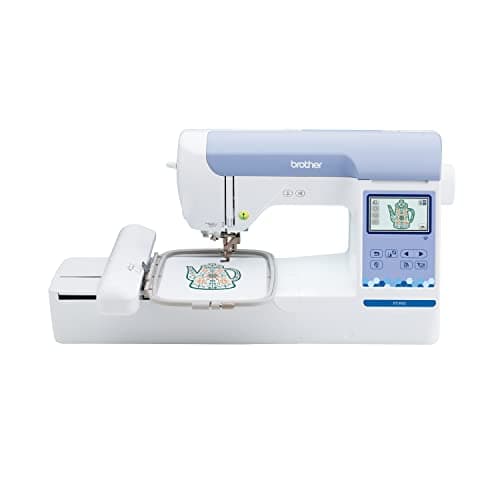
Brother PE900: 5x7 field, wireless, 193 designs
See price on AmazonSee it on Amazon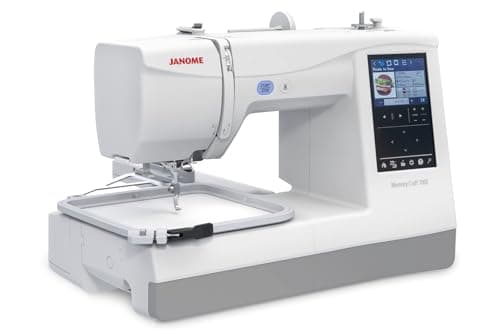
Janome Memory Craft 100e: 5.5x5.5, 274 designs
See price on AmazonSee it on Amazon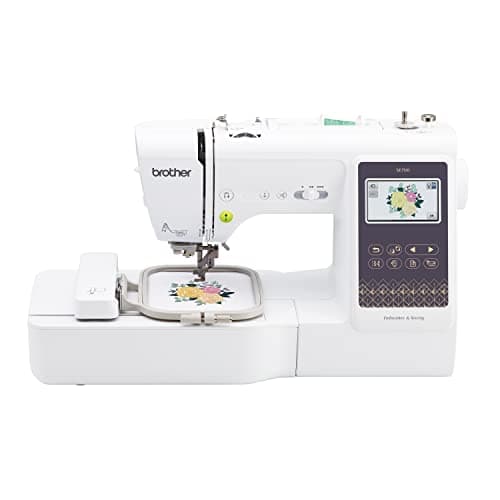
Brother SE700: 4x4 embroidery plus 103 sewing stitches
See price on AmazonSee it on Amazon
Embroidery tension works differently from sewing tension. In a good embroidery stitch, the top thread is pulled slightly to the back so it wraps the edges of the design and no bobbin thread shows on the front. The standard way to check this is the I-test, which reads the back of a satin column. This guide explains the test, what each result means, the order to check things before touching the dial, and how to adjust on machines with a tension dial or a tension setting on the screen. Brother, Janome, Singer and other machines handle this a little differently, so check your manual for where the setting lives.
What balanced embroidery tension looks like
On the front of the design, you should see only top thread, with smooth satin stitches and no bobbin thread peeking through. On the back of a satin column, you should see a stripe of bobbin thread in the center about one third of the width, with top thread on each side of it.
This is different from a normal sewing lockstitch, where the threads lock in the middle of the fabric. In embroidery, the lock is pulled slightly to the back so the top thread covers the edges cleanly.
How to do the I-test
Repeat the test any time you change thread type, bobbin thread or fabric weight significantly, since each can shift the balance.
- 1
Hoop medium-weight woven fabric with a medium tear-away stabilizer.
- 2
Use a new 75/11 embroidery needle, 40 wt embroidery thread on top and the bobbin thread your machine recommends.
- 3
Stitch a satin column at least 1/4 inch wide, or a capital I in a block font. Many embroiderers use a contrasting top thread color to see it clearly.
- 4
Remove the hoop and turn the fabric over.
- 5
Look at the satin column on the back and estimate how much of its width is bobbin thread.
Reading the result
Bobbin about one third, top thread on both sides
- What it means
- Balanced
- What to do
- No change needed
Bobbin wider than one half
- What it means
- Top tension too tight (or bobbin too loose)
- What to do
- Loosen top tension slightly and retest
Little or no bobbin visible, mostly top thread
- What it means
- Top tension too loose
- What to do
- Tighten top tension slightly and retest
Bobbin thread showing on the front
- What it means
- Top too tight or bobbin issue
- What to do
- Rethread, check bobbin, then loosen top tension
Loops of top thread on the front or back
- What it means
- Threading error or very loose top tension
- What to do
- Rethread with the presser foot up first
| What you see on the back | What it means | What to do |
|---|---|---|
| Bobbin about one third, top thread on both sides | Balanced | No change needed |
| Bobbin wider than one half | Top tension too tight (or bobbin too loose) | Loosen top tension slightly and retest |
| Little or no bobbin visible, mostly top thread | Top tension too loose | Tighten top tension slightly and retest |
| Bobbin thread showing on the front | Top too tight or bobbin issue | Rethread, check bobbin, then loosen top tension |
| Loops of top thread on the front or back | Threading error or very loose top tension | Rethread with the presser foot up first |
Check these before you adjust tension
Most apparent tension problems are actually threading, bobbin or needle problems. Changing the tension dial to compensate for a threading mistake makes things worse once the mistake is fixed.
- Rethread the top thread with the presser foot raised so it seats in the tension discs.
- Check the spool cap and that thread unwinds smoothly without catching.
- Use the bobbin thread type recommended for your machine and confirm the bobbin is inserted the right direction.
- Clean lint from the bobbin case and hook area.
- Install a fresh embroidery needle of the right size.
- Make sure the thread is not old, brittle or a much heavier weight than the design expects; see machine embroidery thread weights.
Note.Avoid adjusting the bobbin case screw unless your manual describes it. Bobbin tension is set at the factory, and small turns make big changes.
How to adjust embroidery tension
On machines with a tension dial, turn it in small steps, then retest. Higher numbers usually mean tighter top tension. On many computerized embroidery machines, including many Brother models, embroidery tension is set in a settings screen or in the embroidery screen rather than with a dial. The location and scale vary by model, so look up embroidery tension in your manual.
Change one thing at a time and retest with the I-test after each change. Note the setting that works for each thread type you use. Some embroiderers keep a separate bobbin case marked for embroidery when the machine maker offers one, which avoids readjusting a shared case. For Brother-specific symptoms, see Brother embroidery machine problems.
Metallic or specialty thread
- Typical adjustment
- Often a slightly looser top tension; use a metallic needle
Thick 30 wt thread
- Typical adjustment
- Larger needle, test tension
Dense satin columns pulling fabric
- Typical adjustment
- Check stabilizer first, then ease top tension slightly
Bobbin peeking on top at edges
- Typical adjustment
- Ease top tension, check bobbin thread and needle
| Situation | Typical adjustment |
|---|---|
| Metallic or specialty thread | Often a slightly looser top tension; use a metallic needle |
| Thick 30 wt thread | Larger needle, test tension |
| Dense satin columns pulling fabric | Check stabilizer first, then ease top tension slightly |
| Bobbin peeking on top at edges | Ease top tension, check bobbin thread and needle |
Tension and puckering
Tight top tension can pull fabric in and add to puckering, but stabilizer and hooping are much more common causes. If designs pucker, work through the machine embroidery puckering guide before changing tension. Thread breaks and shredding are also more often needle or threading problems; see embroidery thread shredding and breaking. The needle and thread finder suggests needle sizes for each thread type.
If tension seems impossible to balance after all the checks, the tension discs or bobbin case may need service. Our guides to the best embroidery machines for beginners and best Brother embroidery machines cover models that make tension setup straightforward.
Frequently asked questions
What should embroidery tension be set at? There is no single number. Settings vary by machine, thread and fabric. Use the I-test and aim for about one third bobbin thread on the back of a satin column.
Why is bobbin thread showing on top of my embroidery? Usually the top tension is too tight relative to the bobbin, or the bobbin is inserted wrong or uses the wrong thread. Rethread and check the bobbin first.
Is embroidery tension the same as sewing tension? No. Embroidery tension pulls the top thread slightly to the back, while sewing tension locks threads in the middle of the fabric.
Should I change the bobbin tension? Rarely. Adjust the top tension first and leave the bobbin case alone unless your manual describes how to adjust it.
What you need for this
- See price on AmazonAmazon
Brother PE900: 5x7 field, wireless, 193 designs
 See price on AmazonAmazon
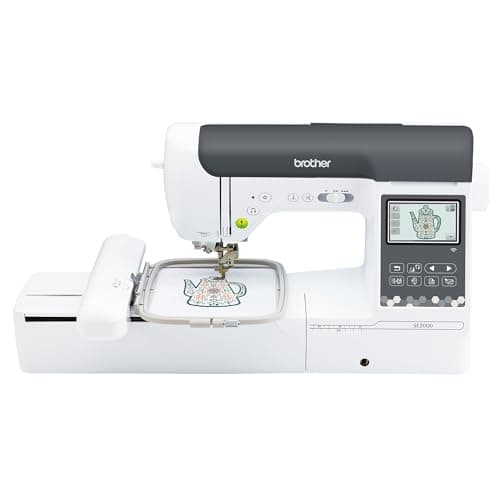
Brother SE2000, 5 x 7 in field with Wi-Fi
From Best Brother embroidery machines: PE, SE, Innov-is and PR compared