Fix
Why machine embroidery puckers and how to stop it
Published
Short answer
Embroidery puckers when the fabric moves or is compressed while the design stitches. The usual fixes, in order, are a firmer or more suitable stabilizer (cut-away for knits), hooping the fabric taut without stretching it, using the smallest hoop that fits, and avoiding very dense designs on light fabric. Tension and needle checks come after those.
Machines for this job
All 8 picks compared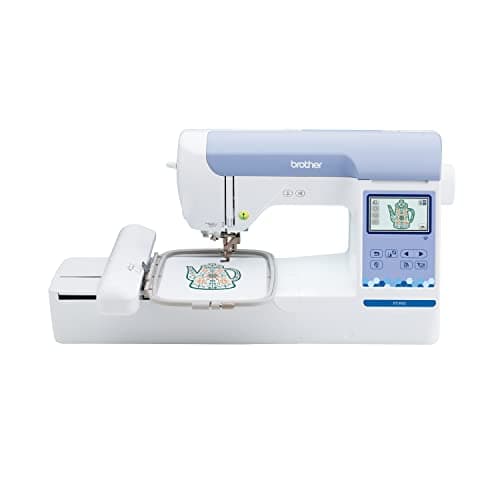
Brother PE900: 5x7 field, wireless, 193 designs
See price on AmazonSee it on Amazon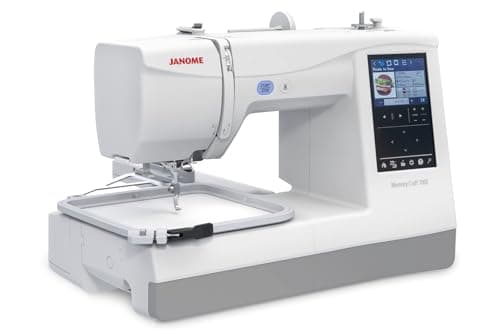
Janome Memory Craft 100e: 5.5x5.5, 274 designs
See price on AmazonSee it on Amazon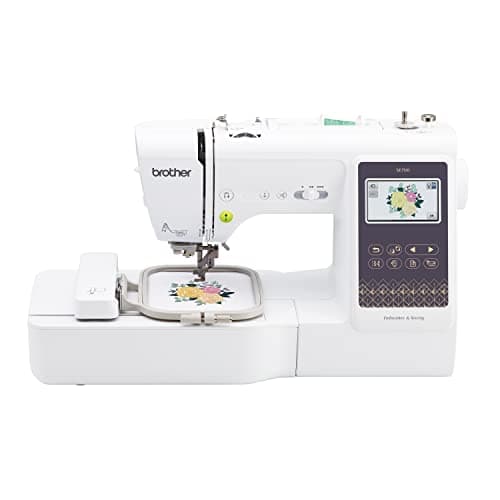
Brother SE700: 4x4 embroidery plus 103 sewing stitches
See price on AmazonSee it on Amazon
Puckering shows up as ripples, waves or gathers in the fabric around an embroidery design. It is one of the most common machine embroidery problems, and it almost always comes down to support and hooping rather than a machine fault. Pressing can sometimes soften mild puckers, but it rarely removes them, so the goal is to prevent them. This guide covers why puckering happens, the fixes in the order that solves most cases, and fabric-specific tips. It applies to single-needle and multi-needle home machines.
Why embroidery puckers
Every stitch pulls the fabric slightly toward it. A design with thousands of stitches pulls the fabric inward, a force embroiderers call pull. If the fabric is not held firmly, it gathers under that pull. If the fabric was stretched in the hoop, it springs back when released and the design ends up sitting in a ripple.
Three things control this: how much support is under the fabric, how the fabric is hooped, and how dense the design is. Thread tension and needle choice play a smaller role.
Causes and fixes, most likely first
Too little or wrong stabilizer
- How to tell
- Puckers on knits, light fabric or dense designs
- Fix
- Use cut-away on knits, heavier or two layers on dense designs
Fabric stretched while hooping
- How to tell
- Puckers appear after unhooping
- Fix
- Hoop taut but not stretched; do not tug edges after tightening
Fabric loose in the hoop
- How to tell
- Fabric moves, outlines misaligned
- Fix
- Tighten the hoop; use adhesive stabilizer or spray
Hoop too large for the design
- How to tell
- Lots of loose fabric around a small design
- Fix
- Use the smallest hoop that fits
Design too dense for the fabric
- How to tell
- Stiff, heavy area on light fabric
- Fix
- Choose a lighter design or one digitized for the fabric
Top tension too tight
- How to tell
- Fabric pulled in along satin columns
- Fix
- Check balance with the I-test, ease top tension slightly
Dull or wrong needle
- How to tell
- Puckers plus thread issues
- Fix
- New 75/11 embroidery needle; ballpoint for knits
| Cause | How to tell | Fix |
|---|---|---|
| Too little or wrong stabilizer | Puckers on knits, light fabric or dense designs | Use cut-away on knits, heavier or two layers on dense designs |
| Fabric stretched while hooping | Puckers appear after unhooping | Hoop taut but not stretched; do not tug edges after tightening |
| Fabric loose in the hoop | Fabric moves, outlines misaligned | Tighten the hoop; use adhesive stabilizer or spray |
| Hoop too large for the design | Lots of loose fabric around a small design | Use the smallest hoop that fits |
| Design too dense for the fabric | Stiff, heavy area on light fabric | Choose a lighter design or one digitized for the fabric |
| Top tension too tight | Fabric pulled in along satin columns | Check balance with the I-test, ease top tension slightly |
| Dull or wrong needle | Puckers plus thread issues | New 75/11 embroidery needle; ballpoint for knits |
Fix the stabilizer first
The stabilizer is the main defense against pull. Knits need cut-away stabilizer because they stretch; tear-away does not give them lasting support and the design can distort after washing. Dense designs need more support, either a heavier stabilizer or two layers. Light, stable cotton with a light design may need only tear-away.
Check the machine embroidery stabilizer chart for the right type for your fabric. Fusible or adhesive stabilizers help keep fabric from shifting, especially on slippery or stretchy items. On towels and fleece, add a water-soluble topping.
Hoop correctly
Hooping is where most puckers start. The aim is fabric that is smooth and firm like a drum, with the grain straight, but not stretched.
- 1
Use the smallest hoop that fits the design; see the hoop size chart.
- 2
Lay the stabilizer and fabric on the outer hoop, smooth but not pulled.
- 3
Loosen the hoop screw enough that the inner ring presses in without forcing.
- 4
Press the inner ring in, then tighten the screw.
- 5
Check that the fabric is firm and grain lines are straight. If not, rehoop rather than tugging the edges.
- 6
For items that are hard to hoop, hoop the stabilizer alone and attach the fabric with adhesive or basting.
Note.Pulling fabric at the edges after the hoop is tightened stretches the center. It looks flat in the hoop but puckers once released.
Design density, tension and needles
Some designs are simply too dense for the fabric. A heavy fill design meant for a sweatshirt can pucker a T-shirt even with good stabilizer. If you often stitch on lightweight fabric, choose designs with lighter fills, or ones digitized for knits. Resizing a design down without recalculating stitches increases density, which also adds pull.
If support and hooping are right and puckers remain, check thread tension with the I-test described in our embroidery machine tension settings guide. Top tension that is too tight pulls fabric in along satin columns. Also use a fresh embroidery needle, 75/11 for most fabrics, and a ballpoint embroidery needle for knits; the needle and thread finder helps.
Fabric-specific tips
If your machine has a small field and you often need larger designs, a bigger hoop machine may help; see best embroidery machines with a large hoop. For other issues on Brother models, see Brother embroidery machine problems.
- T-shirts and knits: no-show mesh cut-away, fuse or spray it to the fabric, ballpoint needle, lighter designs.
- Sweatshirts and fleece: medium to heavy cut-away plus wash-away topping.
- Quilting cotton: medium tear-away for light designs, cut-away for dense ones.
- Towels: tear-away or cut-away plus topping; avoid very dense fills.
- Silk and fine fabrics: lightweight cut-away or wash-away and light designs.
- Caps: firm cap stabilizer and a well-seated cap hoop or frame.
Frequently asked questions
Can I fix puckered embroidery after it is stitched? Pressing from the back with a towel underneath can soften mild puckers, but it usually does not remove them. Prevention with stabilizer and hooping is the real fix.
Why does my embroidery pucker after washing? Usually the stabilizer was too light or was tear-away on a knit. Use cut-away for anything that stretches.
Does a magnetic hoop stop puckering? It can help by holding fabric evenly without stretching it, but it does not replace the right stabilizer.
Should I loosen the top tension to stop puckering? Only after checking stabilizer and hooping. Check balance with the I-test first and adjust in small steps.
What you need for this
- See price on AmazonAmazon
Brother PE900: 5x7 field, wireless, 193 designs
 See price on AmazonAmazon
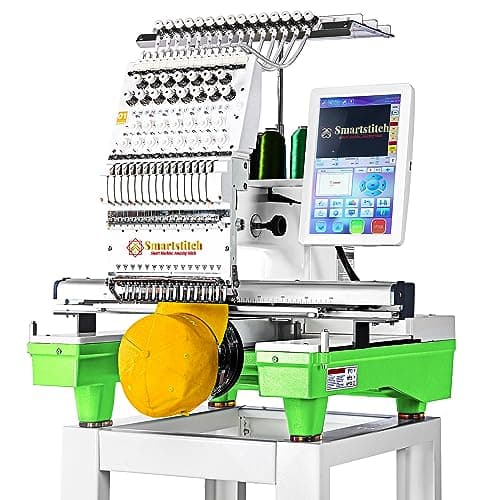
Smartstitch S-1501: 15 needles, 14x20 inch area
From Best embroidery machines with a large hoop, ranked by field size
 See price on AmazonAmazon
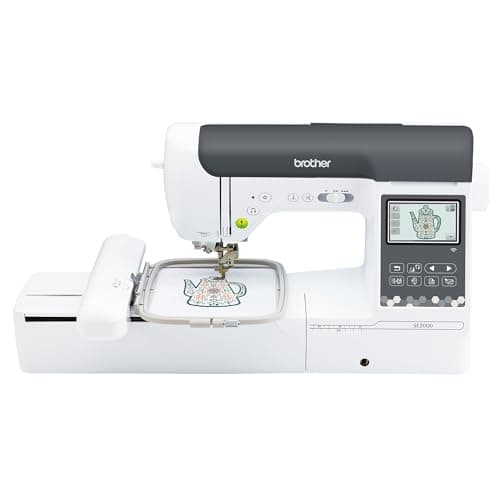
Brother SE2000, 5 x 7 in field with Wi-Fi
From Best Brother embroidery machines: PE, SE, Innov-is and PR compared