Fix
Sewing machine tension problems and how to fix them
Published
Short answer
First rethread the top thread with the presser foot up and reinsert the bobbin correctly, since threading errors cause most tension problems. Then read the stitch: if bobbin thread shows on top, the top tension is too tight, so lower the dial. If top thread loops or lies flat on the underside, the top tension is too loose, so raise the dial. Adjust the bobbin case only after the top tension and threading are ruled out.
Machines for this job
All 7 picks compared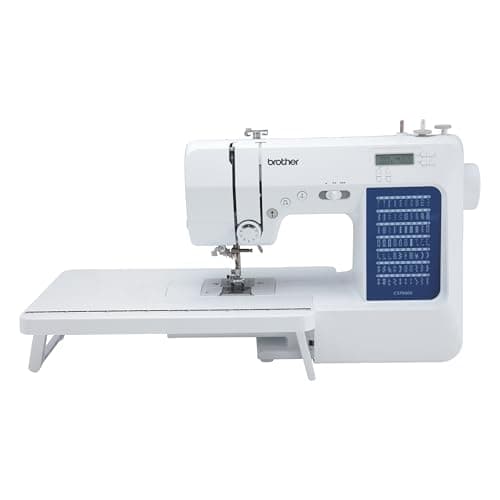
Brother CS7000X: 70 stitches, metal frame, wide table
See price on AmazonSee it on Amazon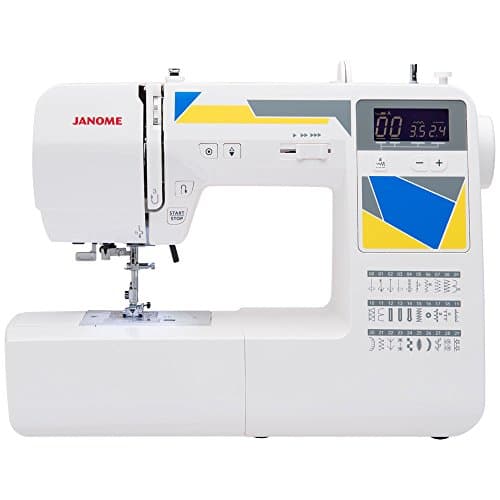
Janome MOD-30: 30 stitches with 3 one-step buttonholes
See price on AmazonSee it on Amazon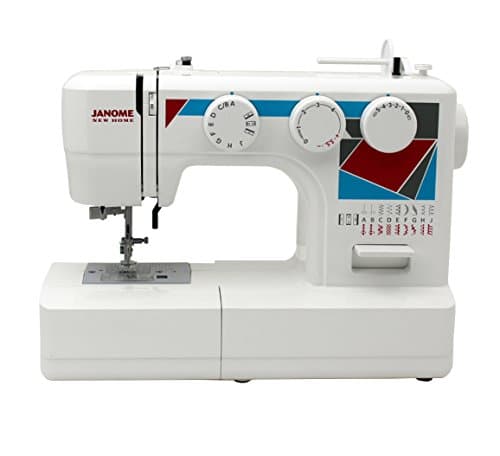
Janome MOD-19: simple mechanical with 19 stitches
See price on AmazonSee it on Amazon
This page is for sewists whose stitches look wrong: loops on the back, bobbin thread dots on top, puckered seams or stitches that pull out easily. Tension is often blamed for problems that are really threading, needle or bobbin issues, so this guide starts with the quick checks that fix most cases. Then it shows how to read a stitch to tell whether the top or bobbin side is off, which way to turn the dial, and when to adjust the bobbin case. The steps work for most home lockstitch machines; check your manual for your model's default settings.
How a balanced stitch looks
A lockstitch is formed by two threads: the top thread from the spool and the bottom thread from the bobbin. In a balanced stitch, the two threads lock together in the middle of the fabric layers. From the top you see only top thread, and from the bottom you see only bobbin thread, with neat, even stitches on both sides.
When one thread pulls harder than the other, the lock point moves toward that side. If the top tension is too tight, it pulls the bobbin thread up to the top. If the top tension is too loose, the bobbin pulls the top thread down to the underside.
A good test is to sew on two layers of medium cotton using different colored threads in the top and the bobbin. That makes it easy to see which thread is showing on the wrong side.
Read the stitch: symptoms and causes
Loops on the underside are the most common complaint, and they are almost always a top threading problem, not a bobbin problem. See sewing machine thread bunching underneath for that symptom in detail.
Loops or a nest of top thread on the underside
- Likely cause
- Top thread not in tension discs, usually threaded with foot down
- Fix
- Rethread with presser foot up
Top thread lies flat along the underside
- Likely cause
- Top tension too loose
- Fix
- Raise the top tension dial a step
Bobbin thread dots or lies flat on top
- Likely cause
- Top tension too tight, or bobbin too loose
- Fix
- Lower the top tension dial a step
Seam puckers or gathers
- Likely cause
- Top tension too tight, stitch too short, or dull needle
- Fix
- Lower tension, lengthen stitch, new needle
Stitches pull out easily
- Likely cause
- Both tensions very loose or bobbin not in its spring
- Fix
- Reinsert bobbin and rethread
Tension changes partway through a seam
- Likely cause
- Thread catching on spool, notch in spool, lint in discs
- Fix
- Check spool cap and thread path, clean discs
| What you see | Likely cause | Fix |
|---|---|---|
| Loops or a nest of top thread on the underside | Top thread not in tension discs, usually threaded with foot down | Rethread with presser foot up |
| Top thread lies flat along the underside | Top tension too loose | Raise the top tension dial a step |
| Bobbin thread dots or lies flat on top | Top tension too tight, or bobbin too loose | Lower the top tension dial a step |
| Seam puckers or gathers | Top tension too tight, stitch too short, or dull needle | Lower tension, lengthen stitch, new needle |
| Stitches pull out easily | Both tensions very loose or bobbin not in its spring | Reinsert bobbin and rethread |
| Tension changes partway through a seam | Thread catching on spool, notch in spool, lint in discs | Check spool cap and thread path, clean discs |
Quick checks before you touch the dial
- 1
Raise the presser foot. This opens the tension discs.
- 2
Raise the needle to its highest point using the handwheel or needle up button.
- 3
Remove the top thread completely and rethread, following every guide, and make sure the thread passes through the take-up lever.
- 4
Pull gently on the thread just above the needle. With the foot down, you should feel resistance. With the foot up, it should pull freely.
- 5
Remove the bobbin and check that it is wound evenly and is the correct type for your machine. See the bobbin size chart.
- 6
Reinsert the bobbin so it unwinds in the direction shown in your manual, and make sure the thread is under the bobbin case tension spring.
- 7
Put in a new needle of the right size and type for the fabric.
- 8
Sew a test seam on two layers of the project fabric.
Note.Turn the machine off before you remove the needle plate or reach into the bobbin area.
Adjusting the top tension dial
Most home machines have a top tension dial or setting numbered from about 0 to 9. A setting around the middle, often near 4, is a common default for general sewing, but check your manual since some computerized machines set tension automatically.
Turn the dial to a higher number to tighten the top tension, and to a lower number to loosen it. Change it by one step at a time and sew a test seam after each change. Write down your starting number so you can return to it.
Some fabrics and techniques need a different setting by design. Lighter top tension is common for satin stitches, decorative stitches and machine embroidery, so the top thread pulls slightly to the back. Thick layers, heavy thread and quilting may also need small adjustments. Tension needs for embroidery are covered in embroidery machine tension settings.
When to adjust the bobbin tension
Bobbin tension is set at the factory and rarely needs changing for normal sewing. Adjust it only when the top tension is at a normal setting, the machine is threaded correctly, and the stitch is still unbalanced.
On machines with a removable bobbin case, the tension is set by a tiny screw on the case's spring. On many drop-in machines, the screw is on the plastic bobbin case that sits in the machine. Turn the screw clockwise to tighten and counterclockwise to loosen, in very small steps of about a quarter turn or less. Mark the screw's starting position with a marker first.
If you sew with special bobbin threads, like heavy decorative thread, some sewists keep a second bobbin case for that work so the main one stays at the factory setting. If you are unsure, have a technician set the bobbin tension during a service.
Other things that look like tension problems
If the stitch is still wrong after all of the above, the problem may be inside the machine. See how often to service a sewing machine. Brand-specific tips are in Janome sewing machine problems. If your machine fights you on every project and is old or low cost, a replacement may make more sense; see the best sewing machines for beginners and the best computerized sewing machines.
- A bent or dull needle, or the wrong type for the fabric, causes skipped stitches and loops
- Lint packed in the bobbin area or between the tension discs makes tension erratic
- Mismatched thread weights in top and bobbin unbalance the stitch
- Poor quality or old thread varies in thickness and breaks
- A burr on the needle plate or bobbin case snags thread
- A machine that is out of timing skips stitches and may need a technician
Frequently asked questions
Why are my sewing machine stitches loose? Most often the top thread is not seated in the tension discs because it was threaded with the presser foot down. Rethread with the foot up. If that does not help, raise the top tension a step.
What should my sewing machine tension be set at? Many machines use a setting near the middle of the dial, often about 4, for general sewing. Check your manual for your model's default.
Should I adjust the top or bobbin tension? Start with the top tension. Adjust the bobbin only if the stitch stays unbalanced after rethreading and a normal top setting.
Why does tension change when I change fabric? Thicker or slicker fabrics, different thread weights and needle sizes all change how the threads lock. Always test on a scrap of the project fabric.
What you need for this
- See price on AmazonAmazon
Brother CS7000X: 70 stitches, metal frame, wide table
 See price on AmazonAmazon
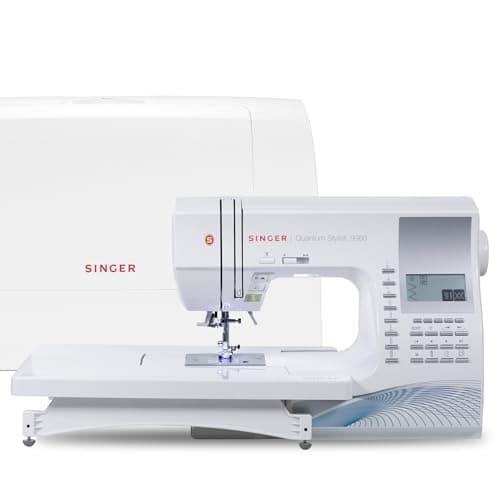
SINGER Quantum Stylist 9960, 600 stitches and 13 feet
 See price on AmazonAmazon
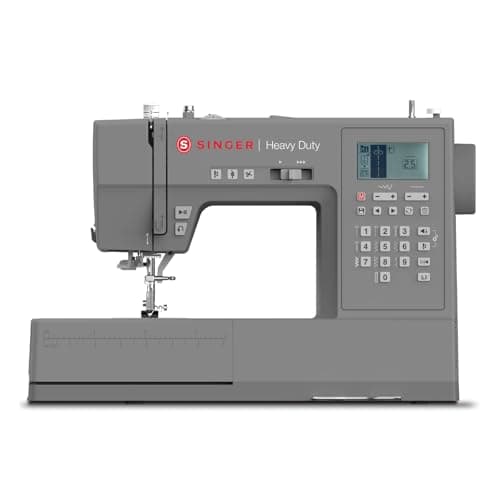
SINGER 6800C, heavy duty computerized, 1,100 SPM
From Best sewing machines under $500 and what each price step adds