How-to
How to use a serger for beginners
Published
Short answer
Thread the serger in the order your manual gives, usually upper looper, lower looper, then the needles from right to left. Set all tension dials to the middle or default number, set the differential feed to 1.0 and stitch length to about 2.5 to 3. Serge a test seam on scrap, then adjust one dial at a time until the loops sit neatly on the fabric edge.
Machines for this job
All 8 picks compared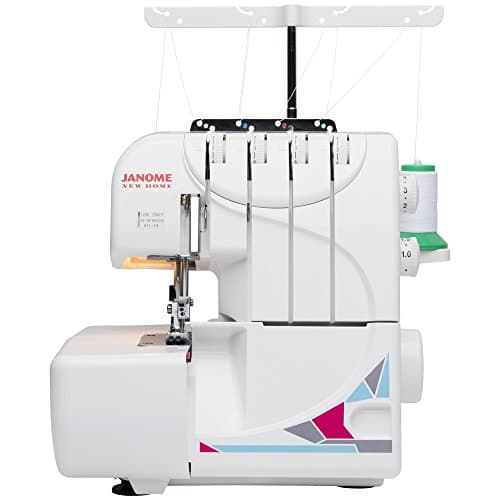
Janome MOD-8933, lay-in threading with differential feed
See price on AmazonSee it on Amazon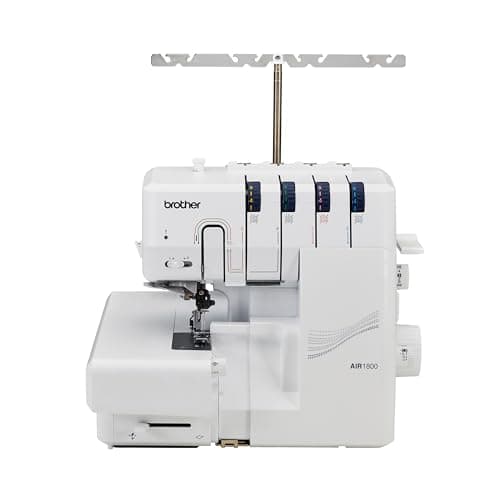
Brother AIR1800, jet air looper threading
See price on AmazonSee it on Amazon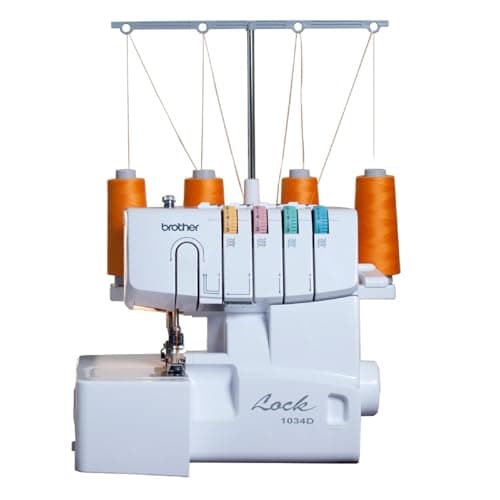
Brother 1034D, color-coded threading, metal frame
See price on AmazonSee it on Amazon
A new serger can look intimidating, with four cones of thread, colored threading paths and several dials. This page is for beginners who have just unboxed a 2/3/4 thread serger such as a Brother 1034D, Singer S14-78, Janome 8002D or Juki MO-654DE. It explains how a serger works, the threading order and why it matters, what each dial does, how to start and end a seam, and the first projects to practice. Always keep your manual open, since threading paths and settings vary between models.
How a serger works
A serger sews with one or two needles and two loopers instead of a bobbin. As the fabric feeds in, a knife trims the edge, the needles form the seam line and the loopers wrap thread around the raw edge. The result is a sewn, trimmed and finished seam in one pass.
Because the knife is always cutting, a serger works on edges. You cannot backstitch, and you do not pin across the seam line, since a pin under the knife can damage it. For the basics of what the machine can and cannot do, read what is a serger first. The diagram shows where each thread sits on a 4-thread seam.
Threading order
Most mechanical sergers must be threaded in a specific order because the looper threads have to sit under the needle threads. A common order is upper looper first, then lower looper, then the right needle and finally the left needle. Some models differ and air-threading machines have their own process, so follow the color-coded diagram inside your machine and the manual.
When rethreading, pull the needle threads out first. If a looper thread breaks, many manuals tell you to unthread the needles, rethread the looper, then rethread the needles, so the order stays correct.
- 1
Raise the presser foot to open the tension discs and turn the handwheel so the needles are at their highest point.
- 2
Extend the thread antenna fully and place the cones on the spool pins with cone holders or caps.
- 3
Thread the upper looper following its color code, making sure the thread sits between the tension discs.
- 4
Thread the lower looper, which is usually the trickiest path. Use tweezers and check the thread is in every guide.
- 5
Thread the right needle, then the left needle.
- 6
Pull all threads under and slightly to the left of the presser foot, lower the foot and turn the handwheel a few times to form a chain.
Note.Turn the serger off before threading the loopers. The knife and loopers are sharp and move with the handwheel.
Tension dials and stitch settings
Each thread has its own tension dial. Start with every dial at the default or middle number marked on the machine, then sew a test seam on two layers of your actual fabric. Adjust only one dial at a time and test again.
Upper looper loops pull to the underside
- Likely cause
- Upper looper too loose or lower too tight
- Try
- Tighten upper looper or loosen lower looper
Lower looper loops show on top
- Likely cause
- Lower looper too loose or upper too tight
- Try
- Tighten lower looper or loosen upper looper
Loops hang off the edge
- Likely cause
- Both loopers too loose or cutting width too narrow
- Try
- Tighten loopers slightly or adjust cutting width
Fabric curls inside the stitch
- Likely cause
- Loopers too tight or cutting width too wide
- Try
- Loosen loopers
Seam opens like a ladder when pulled
- Likely cause
- Needle tension too loose
- Try
- Tighten the needle dial a little
| What you see | Likely cause | Try |
|---|---|---|
| Upper looper loops pull to the underside | Upper looper too loose or lower too tight | Tighten upper looper or loosen lower looper |
| Lower looper loops show on top | Lower looper too loose or upper too tight | Tighten lower looper or loosen upper looper |
| Loops hang off the edge | Both loopers too loose or cutting width too narrow | Tighten loopers slightly or adjust cutting width |
| Fabric curls inside the stitch | Loopers too tight or cutting width too wide | Loosen loopers |
| Seam opens like a ladder when pulled | Needle tension too loose | Tighten the needle dial a little |
- Stitch length: around 2.5 to 3 mm for most seams; shorter for rolled hems.
- Cutting width: controls how much fabric sits inside the loops.
- Differential feed: 1.0 is neutral. Turn it up, toward 1.5 to 2.0, to stop knits from stretching into a wavy seam. Turn it down, below 1.0, to stop light wovens from puckering.
Your first seams
Practice on woven cotton first, then a cotton knit. Good first projects are edge finishing on woven garment seams, a simple knit T-shirt and a set of napkins with rolled hems.
- 1
Start with a thread chain a few inches long. Lay the fabric just in front of the knife and let the feed dogs pull it in; you do not need to lift the foot for most fabrics.
- 2
Guide the fabric with your hands in front of the foot, lining the raw edge with the knife or the seam guide marks. Do not pull or push.
- 3
Sew off the end of the fabric and keep going to make a tail chain about 4 inches long.
- 4
To secure the ends, thread the chain back under the stitches with a large-eye needle, or put a small dab of seam sealant on the chain and trim it.
- 5
For a curve, keep the knife cutting the edge and turn the fabric gradually rather than the machine.
How to serge a hem
A serger can finish a hem in two common ways. A rolled hem wraps a narrow edge tightly and suits napkins, scarves and ruffles. Most home sergers switch to rolled hem by removing the left needle, moving a stitch finger lever and adjusting the lower looper tension, as shown in the manual.
A serged and turned hem finishes the raw edge with a 3 or 4-thread overlock, then you fold it up once and topstitch on a sewing machine. For T-shirt style double-row hems, you need a coverstitch machine; see serger vs coverstitch.
Needles, thread and care
Use the needle system your manual specifies. Many home sergers take standard 130/705H needles, while some use ELx705 or another system. See serger needles vs sewing machine needles. Use serger cone thread for the loopers and good quality polyester throughout.
Sergers make a lot of lint because they trim fabric. Brush out the looper area often and follow your manual for any oiling points. If threads start snapping or stitches skip, serger thread keeps breaking walks through the fixes.
Frequently asked questions
Does it matter what order I thread a serger in? Yes, on most mechanical sergers. The loopers usually must be threaded before the needles. Follow the order in your manual or the threading diagram on the machine.
What tension should a serger be on? Start with every dial at the default or middle setting, then adjust one dial at a time based on a test seam on your actual fabric.
What does differential feed do? It changes the speed of the front feed dogs relative to the back. Higher settings stop knits from stretching; lower settings stop light fabrics from puckering.
Can I sew over pins with a serger? No. A pin under the knife can damage the blade and the machine. Use clips or pin well away from the cutting line.