How-to
How to use a walking foot for quilting
Published
Short answer
Attach the walking foot so its arm rests on the needle clamp screw, lengthen the stitch to about 3 to 3.5 mm, and sew at a steady, moderate speed with the quilt supported so it does not drag. Use it for straight lines, grids, stitch in the ditch and gentle curves. For tight curves and stippling, switch to a free-motion foot.
Machines for this job
All 7 picks compared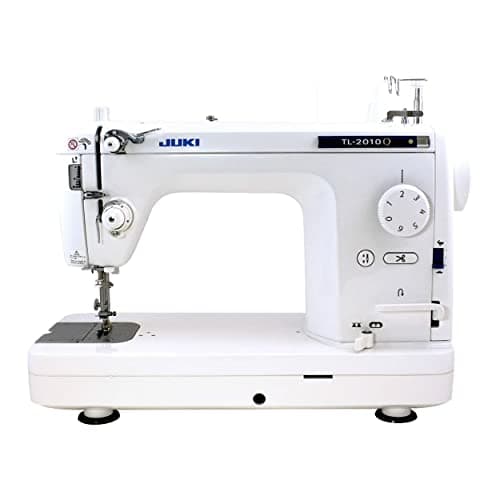
Juki TL-2010Q straight stitch with knee lifter
See price on AmazonSee it on Amazon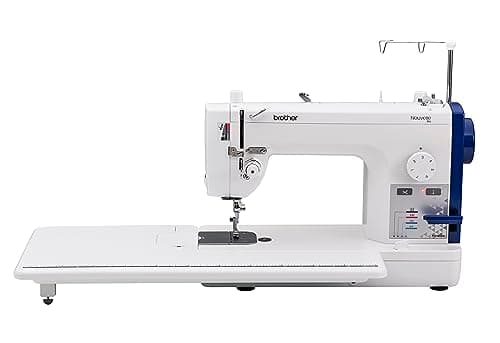
Brother PQ1600S at 1,500 spm with 8.7 inch arm space
See price on AmazonSee it on Amazon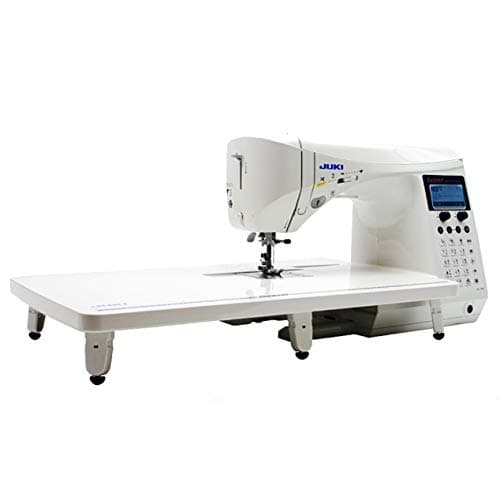
Juki HZL-F600 with 255 stitches
See price on AmazonSee it on Amazon
A walking foot is the easiest way to machine quilt on a home sewing machine. It has its own set of feed teeth that move the top of the quilt sandwich in step with the feed dogs underneath, so the layers do not shift and pucker. This guide covers fitting the foot, the settings that matter, how to baste and plan the quilt, and the designs a walking foot does well. It applies to add-on walking feet and to machines with built-in dual feed, with the differences noted.
What a walking foot does
On a normal presser foot, only the feed dogs move the fabric, and they grip the bottom layer. With three layers of quilt top, batting and backing, the top layer tends to lag behind and push ahead of the foot, creating tucks and puckers. A walking foot adds feed teeth on top that move in sync with the feed dogs, so all layers advance together.
Some machines have a built-in dual feed system that does the same job without an attachment. If your machine has one, engage it as described in your manual and use the matching foot. Either way, the techniques below are the same. The presser feet chart explains how to check which walking foot fits your machine's shank.
Fitting the walking foot
Walking feet are screw-on attachments. Most have a fork or arm that sits over the needle clamp screw so the needle bar's up and down movement drives the top feed.
- 1
Turn off the machine, raise the needle to its highest position and raise the presser foot lever.
- 2
Remove the regular foot and, if needed, the snap-on shank adapter.
- 3
Slide the walking foot onto the presser bar so its arm or fork rests over the needle clamp screw.
- 4
Tighten the thumbscrew firmly with a screwdriver if your manual recommends it.
- 5
Turn the hand wheel slowly through a full stitch to confirm the needle clears the foot and the top feed moves.
- 6
Use a straight stitch with the needle in the center position unless the foot allows otherwise.
Note.If the needle hits the foot or the arm is not over the clamp screw, stop and refit. A needle strike can break the needle and damage the foot.
Settings that matter
Lengthen the stitch. A stitch of about 3 to 3.5 mm looks better on quilts and reduces the chance of puckers; very short stitches through thick layers can pull the fabric. If your machine allows presser foot pressure adjustment, reducing it slightly can help thick quilts feed evenly, but follow your manual.
Stitch length
- Starting point
- About 3 to 3.5 mm
- Why
- Smoother lines and less drag on layers
Needle
- Starting point
- Quilting or universal 80/12 to 90/14
- Why
- Penetrates batting cleanly
Thread
- Starting point
- 50 wt cotton or 40 wt for more definition
- Why
- Matches common quilting practice
Speed
- Starting point
- Moderate and steady
- Why
- Keeps feed even and lines straight
Stitch type
- Starting point
- Straight stitch, center needle
- Why
- Walking feet are made for straight stitching
| Setting | Starting point | Why |
|---|---|---|
| Stitch length | About 3 to 3.5 mm | Smoother lines and less drag on layers |
| Needle | Quilting or universal 80/12 to 90/14 | Penetrates batting cleanly |
| Thread | 50 wt cotton or 40 wt for more definition | Matches common quilting practice |
| Speed | Moderate and steady | Keeps feed even and lines straight |
| Stitch type | Straight stitch, center needle | Walking feet are made for straight stitching |
Basting and supporting the quilt
Even with a walking foot, the layers need to be basted. Use safety pins every few inches, spray baste, or thread baste. Smooth each layer from the center outward. For larger quilts, roll or fold the sides so the part you are working on lies flat, and support the weight on a table to the left and behind the machine so the quilt does not pull on the needle.
Throat space limits how much quilt fits to the right of the needle. On a standard machine, work from the center outward and quilt the middle lines first. If you quilt often, a machine with more throat space makes this far easier; see our guide to quilting machines with a large throat.
- Standard home machine
- about 6 to 7 in
- Larger quilting machine
- about 8 to 12 in
- Longarm on a frame
- about 18 in or more
Walking foot quilting designs
Mark lines with a removable fabric marker or painter's tape before you start, and use the guide bar that comes with many walking feet to keep spacing even. Start lines in the center and work outward on alternating sides to keep the quilt balanced. For more on quilting with a domestic machine, see how to quilt on a regular sewing machine.
- Stitch in the ditch: stitch right in the seam lines between blocks. Quick and nearly invisible.
- Straight lines: evenly spaced parallel lines, using the edge of the foot or a guide bar for spacing.
- Grids and crosshatching: two sets of lines at an angle, marked with a ruler and removable marker.
- Echo quilting: lines that follow the shape of a block or applique at a set distance.
- Gentle waves: slow, wide curves made by steering the quilt gradually.
- Decorative stitches: some serpentine or wave stitches work with a walking foot; check your manual.
Fixing common walking foot problems
If thread issues continue, check our guides to skipped stitches and thread bunching underneath. The needle and thread finder helps match needle size to your batting and thread.
Puckers or tucks on the back
- Likely cause
- Poor basting or quilt dragging
- Fix
- Baste closer, support the quilt, lengthen stitch
Wavy lines
- Likely cause
- Steering too much or uneven speed
- Fix
- Slow down, use a guide bar or marked lines
Clunking or noisy foot
- Likely cause
- Arm not seated on the clamp screw
- Fix
- Refit the foot and retighten
Skipped stitches
- Likely cause
- Dull or wrong needle
- Fix
- Change to a fresh quilting needle
Thread nests underneath
- Likely cause
- Threading or tension issue
- Fix
- Rethread with the foot up; see tension guide
| Problem | Likely cause | Fix |
|---|---|---|
| Puckers or tucks on the back | Poor basting or quilt dragging | Baste closer, support the quilt, lengthen stitch |
| Wavy lines | Steering too much or uneven speed | Slow down, use a guide bar or marked lines |
| Clunking or noisy foot | Arm not seated on the clamp screw | Refit the foot and retighten |
| Skipped stitches | Dull or wrong needle | Change to a fresh quilting needle |
| Thread nests underneath | Threading or tension issue | Rethread with the foot up; see tension guide |
Frequently asked questions
Can I free-motion quilt with a walking foot? No. A walking foot feeds the quilt forward in a set direction. For stippling and free-motion designs, drop the feed dogs and use a free-motion or darning foot.
What stitch length should I use with a walking foot? About 3 to 3.5 mm is a common starting point for quilting. Test on a scrap sandwich and adjust to taste.
Can I use a walking foot for regular sewing? Yes. It helps with plaids, stripes, knits, velvet and multiple layers, anywhere layers tend to shift.
Do I need a walking foot if my machine has dual feed? Usually not. A built-in dual feed does the same job; use the foot your manual specifies for it.
What you need for this
- See price on AmazonAmazon
Juki TL-2010Q: lockstitch with knee lifter and auto trimmer
From Best sewing machines for quilting, from piecing to queen quilts
 See price on AmazonAmazon
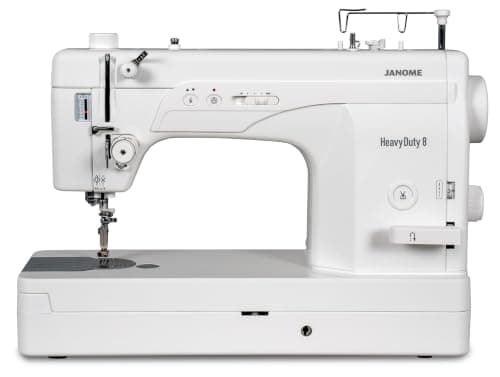
Janome HD8: 9 x 6 inch workspace, 1,600 spm
 See price on AmazonAmazon
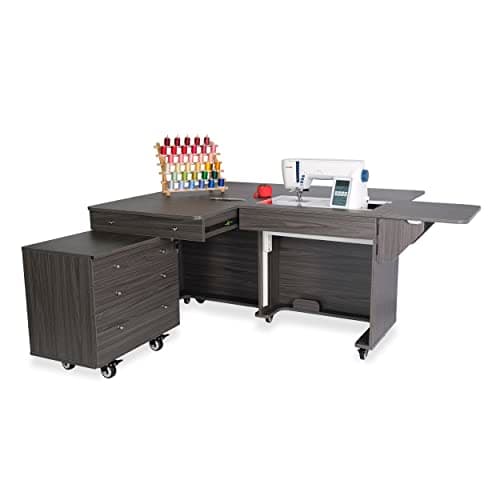
Kangaroo Quilting cabinet with Joey caddy, A7 hydraulic lift