How-to
How to hoop a hat for machine embroidery
Published
Short answer
On a multi-needle or tubular-arm machine, mount the cap on a cap frame with tear-away stabilizer, clip it in place and attach the frame to the cap driver. On a flat-bed single-needle machine, hoop sticky stabilizer, open the back of an unstructured cap, stick the front to it, and stitch a small design. Structured caps are much easier with a cap driver.
Machines for this job
All 8 picks compared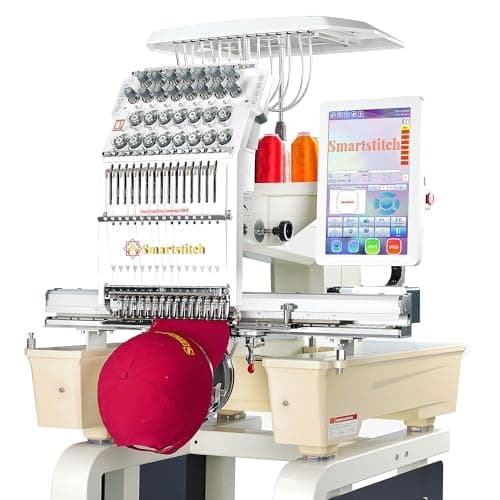
Smartstitch S-1501 Ultra, reinforced cap driver, 270 degree
See price on AmazonSee it on Amazon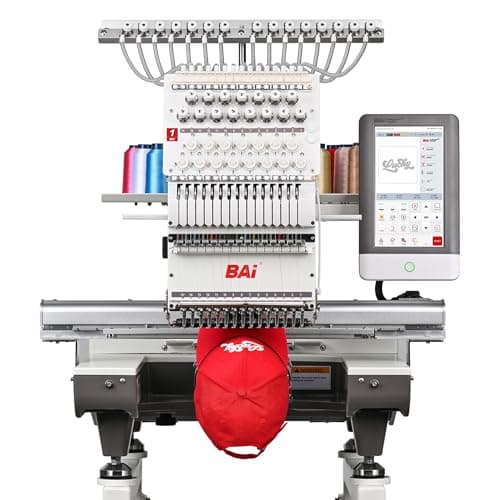
BAI Mirror, 15 needles, 850 SPM on structured caps
See price on AmazonSee it on Amazon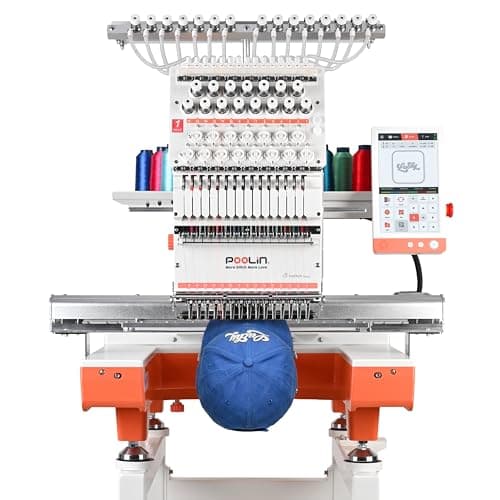
Poolin EOX, 270 degree cap system for front, side and back
See price on AmazonSee it on Amazon
This page is for home and small-business embroiderers who want to put a logo or monogram on a baseball cap. It covers the two main methods, cap frame and driver versus the flat hoop method, which caps work with each, the stabilizer to use, how to size and place a design on the curved front panel, and the mistakes that cause puckers and off-center designs. The steps are general; your machine's manual has the exact frame and attachment procedure.
Two ways to embroider a hat
Cap frame and driver. Multi-needle machines and tubular free-arm machines such as the Brother Persona PRS100 accept a cap frame and driver. The cap is clamped around a curved frame so the front panel stays in its natural curve, and the driver rotates it as the design stitches. This is the standard method for structured caps and for repeat work.
Flat hoop method. Flat-bed single-needle machines, such as most Brother SE and PE models, cannot rotate a curved cap. Instead you hoop stabilizer flat, open up the cap and stick the front panel to the stabilizer. It works best on unstructured, low-profile caps where the front can lie fairly flat.
Unstructured, soft front
- Cap driver
- Yes
- Flat hoop
- Yes, with care
Structured with buckram
- Cap driver
- Yes, best choice
- Flat hoop
- Difficult, small designs only
Trucker with mesh back
- Cap driver
- Yes
- Flat hoop
- Possible on front panel
Bucket or beanie
- Cap driver
- Varies by machine
- Flat hoop
- Usually easier as flat or tubular
| Cap type | Cap driver | Flat hoop |
|---|---|---|
| Unstructured, soft front | Yes | Yes, with care |
| Structured with buckram | Yes, best choice | Difficult, small designs only |
| Trucker with mesh back | Yes | Possible on front panel |
| Bucket or beanie | Varies by machine | Usually easier as flat or tubular |
Stabilizer and needle for caps
Most cap embroidery uses a firm tear-away stabilizer cut to fit the cap frame. Structured caps already have a stiff buckram front, so the tear-away mainly supports the stitches. Unstructured caps may need a heavier tear-away or two layers. On the flat method, a sticky or adhesive stabilizer holds the cap without hooping the fabric itself.
Use a sharp embroidery needle, commonly 75/11 or 80/12 on soft caps and 90/14 for thick twill and structured fronts. See the machine embroidery needle guide and the stabilizer chart for details.
How to hoop a cap on a cap frame
- 1
Lock the cap frame into its hooping station or gauge so it does not move.
- 2
Slide a piece of tear-away stabilizer under the clips so it covers the embroidery area.
- 3
Flip the sweatband out of the way and slide the cap onto the frame, lining up the center seam with the center mark on the frame.
- 4
Push the cap down so the edge of the bill sits snugly against the frame, then close the strap or clamp around the cap.
- 5
Pull the cap fabric smooth and tight from the sides and secure it with the clips. The front should be taut, with no ripples.
- 6
Remove the frame from the station and attach it to the cap driver on the machine, following your manual.
- 7
Trace the design outline on the machine to confirm it clears the bill and the frame.
Note.Keep hands clear while the cap driver rotates and trace the design before stitching. A needle hitting the frame can break and damage the machine.
How to embroider a cap with a flat hoop
This method takes practice and works best for small designs. A tear-away or water-soluble topping can help on textured fabric. If the cap fights you, consider a machine with a cap frame.
- 1
Choose an unstructured cap. Remove the plastic size band or open the back if possible.
- 2
Hoop a sticky stabilizer, paper side up, in your smallest hoop that fits the design, then score and peel the paper.
- 3
Mark the center front and the bottom line of the design on the cap with a removable marker.
- 4
Press the cap front onto the sticky stabilizer, matching your marks to the hoop center marks. Pin outside the stitch area or use basting if your machine offers a basting box.
- 5
Hold the bill and the rest of the cap out of the way of the needle bar and hoop arm.
- 6
Stitch slowly, watching that the cap does not drag or catch.
Design size and placement on the front panel
Cap fields are short and wide. Many cap frames give an area of about 2 x 5 inches, and the Brother PRS100 cap frame listing states a larger field of about 5 inches wide. Check your frame's field before choosing a design, and use our hoop size tool to confirm a design fits.
Center the design on the center seam and place the bottom edge roughly half an inch to an inch above the bill, adjusting by eye for the cap style. Low-profile caps need smaller, lower designs.
Designs made for caps are usually digitized to stitch from the center outward and from the bottom up. This pushes the cap fabric away from the center and avoids a bubble in the middle. A flat design stitched on a cap can pucker or gap, so look for cap-specific versions or adjust the order in software. The diagram compares common hoop fields.
Common hat embroidery problems
If you plan to sell caps, look at embroidery machines for small business, where multi-needle machines with cap drivers save a lot of time.
- Puckering or waves: cap not tight on the frame, too little stabilizer or a design not digitized for caps. See machine embroidery puckering.
- Off-center design: center seam not lined up with the frame mark. Mark the cap before hooping.
- Needle breaks on the seam: dense stitches on the thick center seam. Use a 90/14 needle and slow the machine.
- Thread nests under the cap: usually threading or a loose cap. See embroidery machine bird nesting.
- Outline gaps: the cap shifted during stitching. Hoop tighter and reduce density if needed.
Frequently asked questions
Can I embroider a hat on a single-needle machine? Yes, on a flat-bed machine you can embroider unstructured caps with the flat hoop and sticky stabilizer method. Structured caps are much easier on a machine with a cap frame and driver.
What stabilizer is best for hats? A firm tear-away is the usual choice for structured caps. Unstructured caps may need a heavier tear-away or a sticky stabilizer on flat machines.
What size design fits on a hat? Many cap frames allow about 2 x 5 inches. Check the field for your machine and frame before you choose a design.
Why does my cap design pucker in the middle? The design probably stitches from the outside in, trapping fabric in the center. Use a cap design that stitches from the center outward and bottom up.
What you need for this
- See price on AmazonAmazon
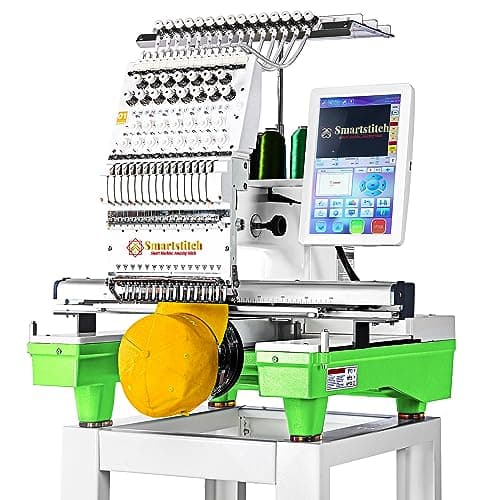
Smartstitch S-1501 Ultra, reinforced cap driver, 270 degree
 See price on AmazonAmazon
Smartstitch S-1501: 15 needles, 14x20 inch area
From Best multi-needle embroidery machines for a small business
 See price on AmazonAmazon
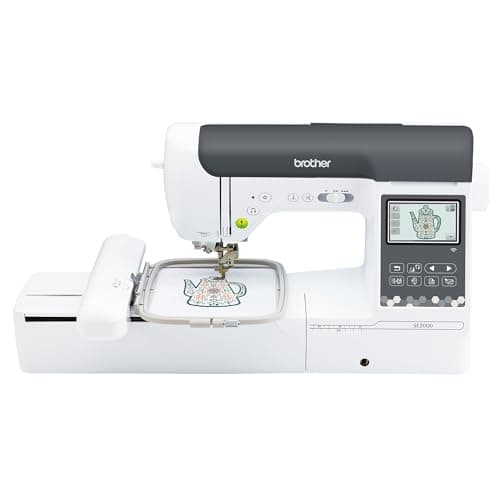
Brother SE2000, 5 x 7 in field with Wi-Fi
From Best Brother embroidery machines: PE, SE, Innov-is and PR compared